

For about twenty years I was the guy who shook the windows. Linda is a light sleeper, and by the time I finally did something about it she was spending more nights in the guest room than in our bed. My doctor sent me for a home sleep test, it came back moderate obstructive sleep apnea, and I have been on a CPAP machine with a nasal pillow mask for about three years now. That is the medical side, and I want to be plain about it: apnea is a medical condition, it needs a sleep study and a doctor, and no drugstore strip treats it.
What I use strips for is the smaller stuff. Nights when my nose is plugged from the dry Colorado air, or when the congestion is bad enough that I want a little more room to breathe before the mask goes on. The strip in my drawer is Breathe Right Extra Strength Clear. The problem was never buying them. The problem was getting one to stay put until morning. I would wake at 2 a.m. with the thing hanging off one nostril like a used bandage, and Linda would find it in the sheets the next morning and hand it to me without a word. So here is the routine I settled on, five steps.
The strips in my drawer, if you want to skip the trial and error
Breathe Right Extra Strength Clear, 26 to a box, the flexible bands are listed as 50% stronger than the Original version. That is the one I keep buying.
Amazon Check Today's Price on Amazon →Why They Peel Off in the First Place
Before the steps, it helps to know what you are fighting. Several things lift a strip off your nose overnight, and once I understood them I stopped losing strips.
The first is oil. Your nose produces sebum all day and it does not care about adhesive. By bedtime there is a thin film across the bridge, and adhesive on a film of oil is like tape on a waxed shelf. The second is moisture, from a hot shower, from washing your face right before bed, from the humidifier running too close to your head. The third is stretching, and this is the one nobody mentions. When you press a strip down over the flare of your nostril and then smile or yawn, the skin moves underneath and the edges lift first, then the whole thing. I spent most of a year blaming the strips for that one before I worked out it was my own face doing it. A fourth thing, if we are being honest, is a bad box. I have had one where every strip seemed to have less tack than the one before it, and a fresh box fixed it.
Fix those and you are most of the way there. The steps below are just the order I do them in.
Step 1: Wash and Dry, Then Wait
I wash my face about half an hour before bed, not five minutes before. That gap matters. Skin that is still damp from a washcloth, or warm and slightly steamed from a shower, will not hold adhesive. Any moisture under the strip turns into a little slip layer and the ends curl by midnight. I learned that one in the winter of my first year with the machine, when I was washing up and climbing straight into bed and losing a strip roughly every other night.
Plain soap and water on a washcloth is plenty. Skip the moisturizer on your nose bridge, and skip any face oil, even if the rest of your face likes it. If you are a nighttime lotion person, do the cheeks and forehead and leave the strip zone alone.
Then pat dry and give it the half hour. I read for a while, or I check the lock on the back door twice the way old men do, and by the time I am ready to lie down the skin is genuinely dry, not just towel dry. Towel dry is a lie your face tells you. Dry is when you have been up and moving for thirty minutes and the bridge of your nose feels like paper.
Step 2: Find the Spot, Not the Spot You Think
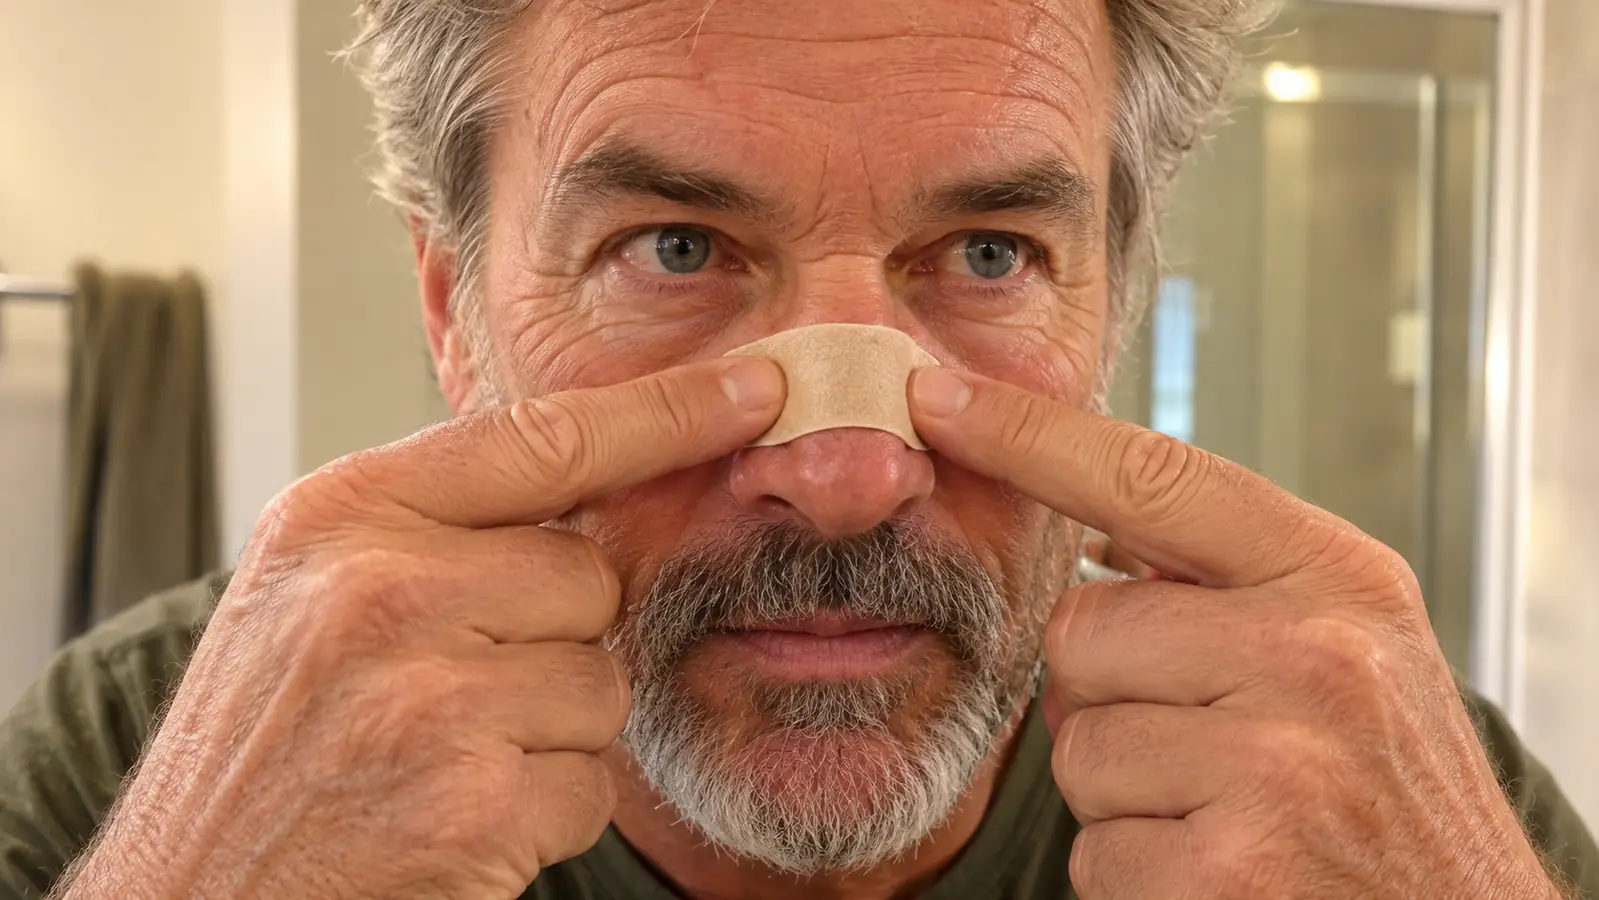
The strip goes across the bridge of your nose, roughly where a pair of glasses sits, above the flare of the nostrils. Not on the tip, not down over the soft part. If you put it too low you will feel it tug every time you breathe in, and the bottom edge will lift first.
Here is how I found mine. I put the strip on dry, without pressing, and looked in the bathroom mirror while breathing in through my nose. You can feel where the bands want to sit. Move it up or down a quarter inch until the pull feels right through the whole breath, then press. My first month I had it too low, nearly on the tip, and I would wake at 3 a.m. with the bottom edge curled up like a shirt collar. Moving it up a half inch fixed it and I never changed it again.
Do that once with a spare strip and you will know your spot for good. I have been putting mine in the same place for two years now.
Step 3: Press From the Middle Out, and Hold It
Peel the backing off, set the strip in place with the middle first, then press outward along the length with two fingers. Middle, then each side. If you start at one end and work across, you trap a bubble of air under the other end and that edge is the one that lifts.
Then hold it. Thirty seconds, both index fingers, pressing gently along the whole strip. I know that sounds like fussing, but the adhesive needs pressure and a little warmth to grab, and thirty seconds is a lot cheaper than waking up at 2 a.m. I timed it once out of curiosity, sitting on the edge of the bed with my phone. Twenty seconds and it lifts. Forty and it holds. Thirty is the number I use now, and I do not think about it anymore.
One more thing on pressure: press, do not stretch. If you pull the ends outward while you stick them down, the adhesive is already under tension and it will crawl back. The bands do the work of opening your nose, you do not need to add any.
Step 4: Give It Ten Minutes Before You Lie Down
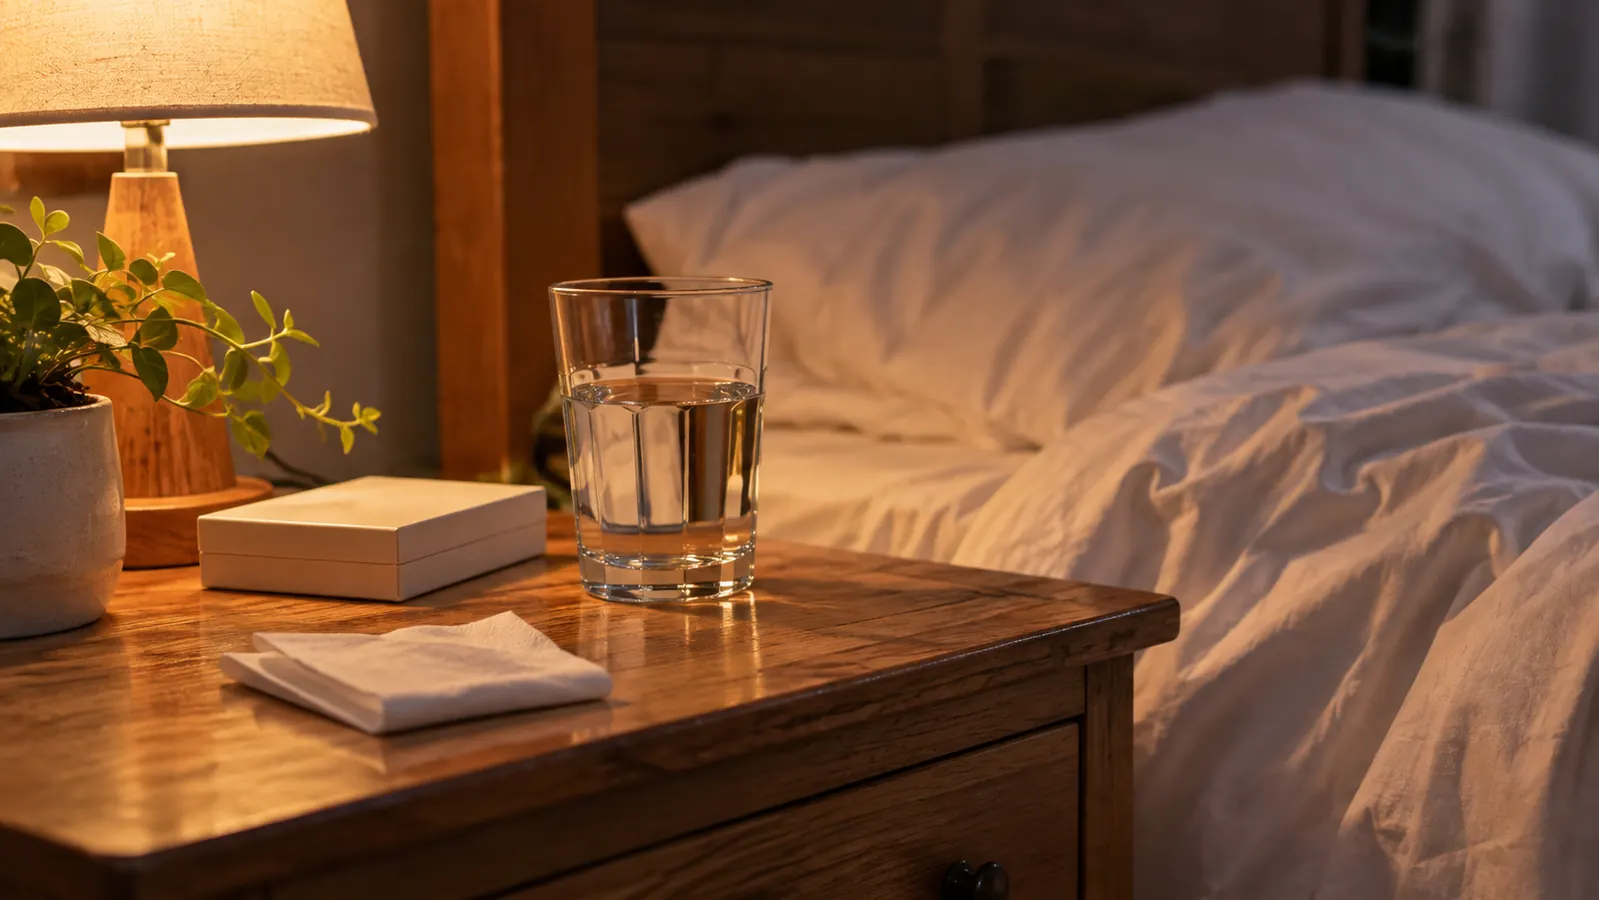
This is the step I skipped for the longest time, and it is the one that made the most difference. After you press it on, stay upright for about ten minutes. Do not get straight into bed and put your face in a pillow. I know it is tempting when you are already tired and the lights in your head are already going out.
Those ten minutes let the adhesive settle under body temperature and let the skin stop moving around. If you lie down immediately and roll onto your side, the pillow drags across the strip while the glue is still soft.
I use the ten minutes to take my evening pills, set out tomorrow's clothes, and fill the water glass on the nightstand. Sometimes I stand at the window and look at the street and there is nothing happening on it. By the time my head hits the pillow the strip is locked in, and I have stopped finding it folded into the sheet at dawn.
Step 5: Manage the Pillow and the Air
Two things in the bedroom were quietly working against me. The first was the pillowcase. Cotton is fine. Flannel and anything brushed or fuzzy grabs at the edge of the strip when you turn your head, and once an edge lifts it is over. I switched to a plain cotton case and stopped finding strips in the sheets. Linda noticed before I did, because she was the one washing them.
The second was the air. We heat the house hard in winter and the altitude here keeps everything dry. Dry air dries out the adhesive along with everything else, and a strip that has been on for six hours in bone dry air starts to curl at the corners. I run a humidifier across the room, not on the nightstand next to my head, and I keep the bedroom a few degrees cooler than the rest of the house. That combination did more for the strips than anything I bought.
And a small thing that saved me a box or two a year: keep the box sealed and in the drawer. The strips are individually wrapped, but once a box sits open on a nightstand for a few weeks, the ones left inside get limp and do not hold as well. I do not know the science of it and I do not need to. Drawer, not nightstand.
I stopped losing strips when I started washing my face half an hour before bed instead of five minutes before. That gap was the whole difference.
What Else Helps
If you have done all five steps and you are still finding the strip on your pillow, a few other things are worth checking.
Skin condition matters more than people expect. If your nose is oily, wipe the bridge with a little rubbing alcohol on a cotton ball and let it dry completely, then apply. If your skin is dry and flaky in winter, that flaking is what the adhesive is gripping and it will let go on you. A light exfoliation earlier in the evening, well before the half hour window, helps some people. I keep a bottle of rubbing alcohol under the bathroom sink for exactly this and use it maybe twice a month, usually in February when the heat has been running for weeks straight.
Size and type matter too. The Breathe Right Extra Strength version uses bands listed as 50% stronger than the Original, and the strip is built to pull a bit harder, which for me means it stays seated through the night. The Clear version is hypoallergenic and flexible and non porous, which is why I use it, since my skin does not love the tan ones. If you have a small nose, the Original or the kids size may sit better than Extra Strength, and a strip that is too long for your face will wrinkle at the ends no matter what you do.
Beard is the other one. If you have got hair right where the strip goes, it will not hold, period. Trim a small patch or move the strip up slightly onto bare skin. And if you have a cold and your nose is running, no strip on earth is holding through that. Change it at bedtime instead of trying to make one last all night, and keep tissues close. I have tried the second night trick with a strip that was still tacky and it is not worth it. One night, one strip.
Last thing, and I will say it plainly because it matters: a strip is not a treatment for sleep apnea. If your partner hears you stop breathing, if you wake up gasping, if you fall asleep in the afternoon in your chair, go get a sleep study. I did, and the CPAP is what actually handles the apnea. The strip is a comfort item for a stuffy nose, and it is good at that job. That is the whole job.
Plain cotton pillowcase, dry nose, ten minutes upright. Then the strip holds
Breathe Right Extra Strength Clear strips, flexible bands 50% stronger than the Original, 26 to a box. Same one I have had in the drawer for two years.
Amazon Check Today's Price on Amazon →